First of all, make sure to choose a room or a location in your home. It is recommended that the best location to install the sauna is preferably near a shower room, because you basically have to take a bath after taking a sauna. After the location of the sauna room is determined, the following steps can be to complete the installation:

Step 1 - Choose the size of the sauna you want to make
Before you start planning how many people you want your sauna to use, it's important to know how big you want your sauna to be. Because any one of these factors determines the size of the room to accommodate how many people will occupy the space. The smaller the room, the smaller the power requirement for the sauna furnace, the faster the heating speed in the room, saving heating time and energy saving, and the fewer sauna boards needed, so it will save a lot of cost. After confirming the sauna After determining the size of the room, you can calculate exactly how much material you will need.
Step 2 - Prepare materials according to your planned room size
Measure the size of the sauna room in the room you choose, use a tape measure to locate the length X width X height, calculate the approximate demand for the sauna board wood needed for the sauna room according to the size of the room, and calculate the sauna furnace equipment according to the area of the sauna room The required power needs to be squared with the power level.
Step 3 – Make the installation and build the overall frame
To construct the entire sauna room frame on the wall with wooden squares, it is necessary to ensure that the main frame of the entire room is strong, safe, and firm. For the protection of the wire casing, reserve the relevant lamp wires, temperature sensor wires and automatic sprinkler system wires. Then proceed to assemble the sauna planks to the wall.
Step 4 - Mounting the Sauna Panel to the Wall Floor and Ceiling
When assembling the sauna wood boards to the wall, it should be noted that glue is used to install the wood boards. Brush the glue on the wooden side of the main body of the wall once, and then put the sauna boards together piece by piece, and use a steam nail gun After fixing it, install all the walls and sauna boards, then install the ceiling, and finally install the floor. Make sure that the entire sauna room must be sealed, and then open a ventilation outlet on the ceiling of the sauna room. Install the seats in the sauna room, pay attention to the fact that the sauna seats must be firm, how to arrange the installation position of the specific seats depends on personal preference.
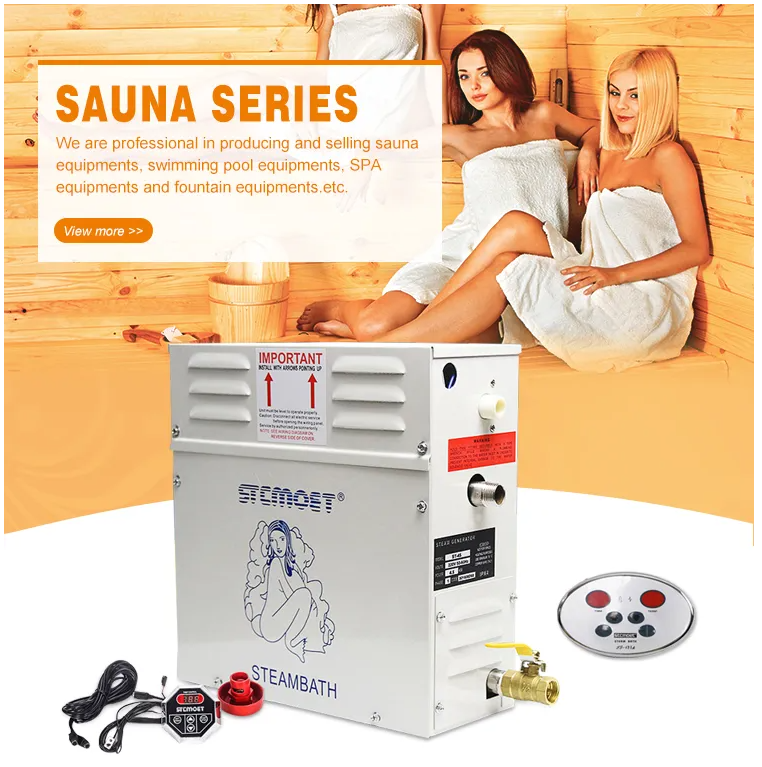
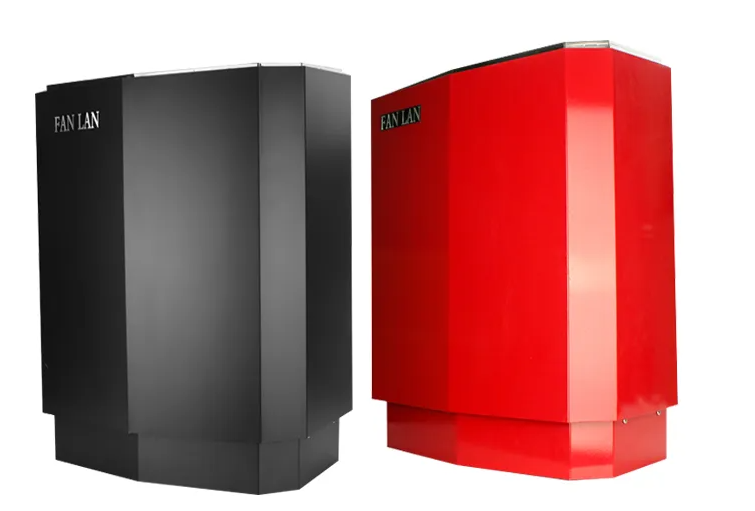
Step 5 - Installing the Sauna Heater Equipment
Choose a suitable and beautiful location in the center of your sauna room to install the sauna heater. Different voltage connection methods are also different. If you do not know the principles of electrical engineering, it is best to consult Metsä professional electricians to guide you in wiring, so as to complete the correct installation of the sauna heater to ensure normal use, and finally put the sauna heater into operation. The controller wiring is linked.

Step 6 - Install relevant sauna accessories in the sauna
Install all the accessories needed in the sauna room, connect the sauna lights, install the sauna lights and protective covers, install the corresponding sauna hourglass, hygrometer, and thermometer one by one, and place the sauna stones evenly in the sauna Put the wooden barrel and wooden spoon on the seat next to the sauna stove on the stove, install the sauna glass door, first install the sealing strip on the door frame, then fix the glass door to the wooden frame with a hinge frame, and install the door handle.
After the installation of the sauna room is completed, conduct a power-on test to see if the sauna furnace is energized and working normally. After normal operation, confirm whether the temperature of the sauna room can reach the expected effect of the setting, so that you can easily enjoy a sauna that belongs to you and your family. home sauna too.


